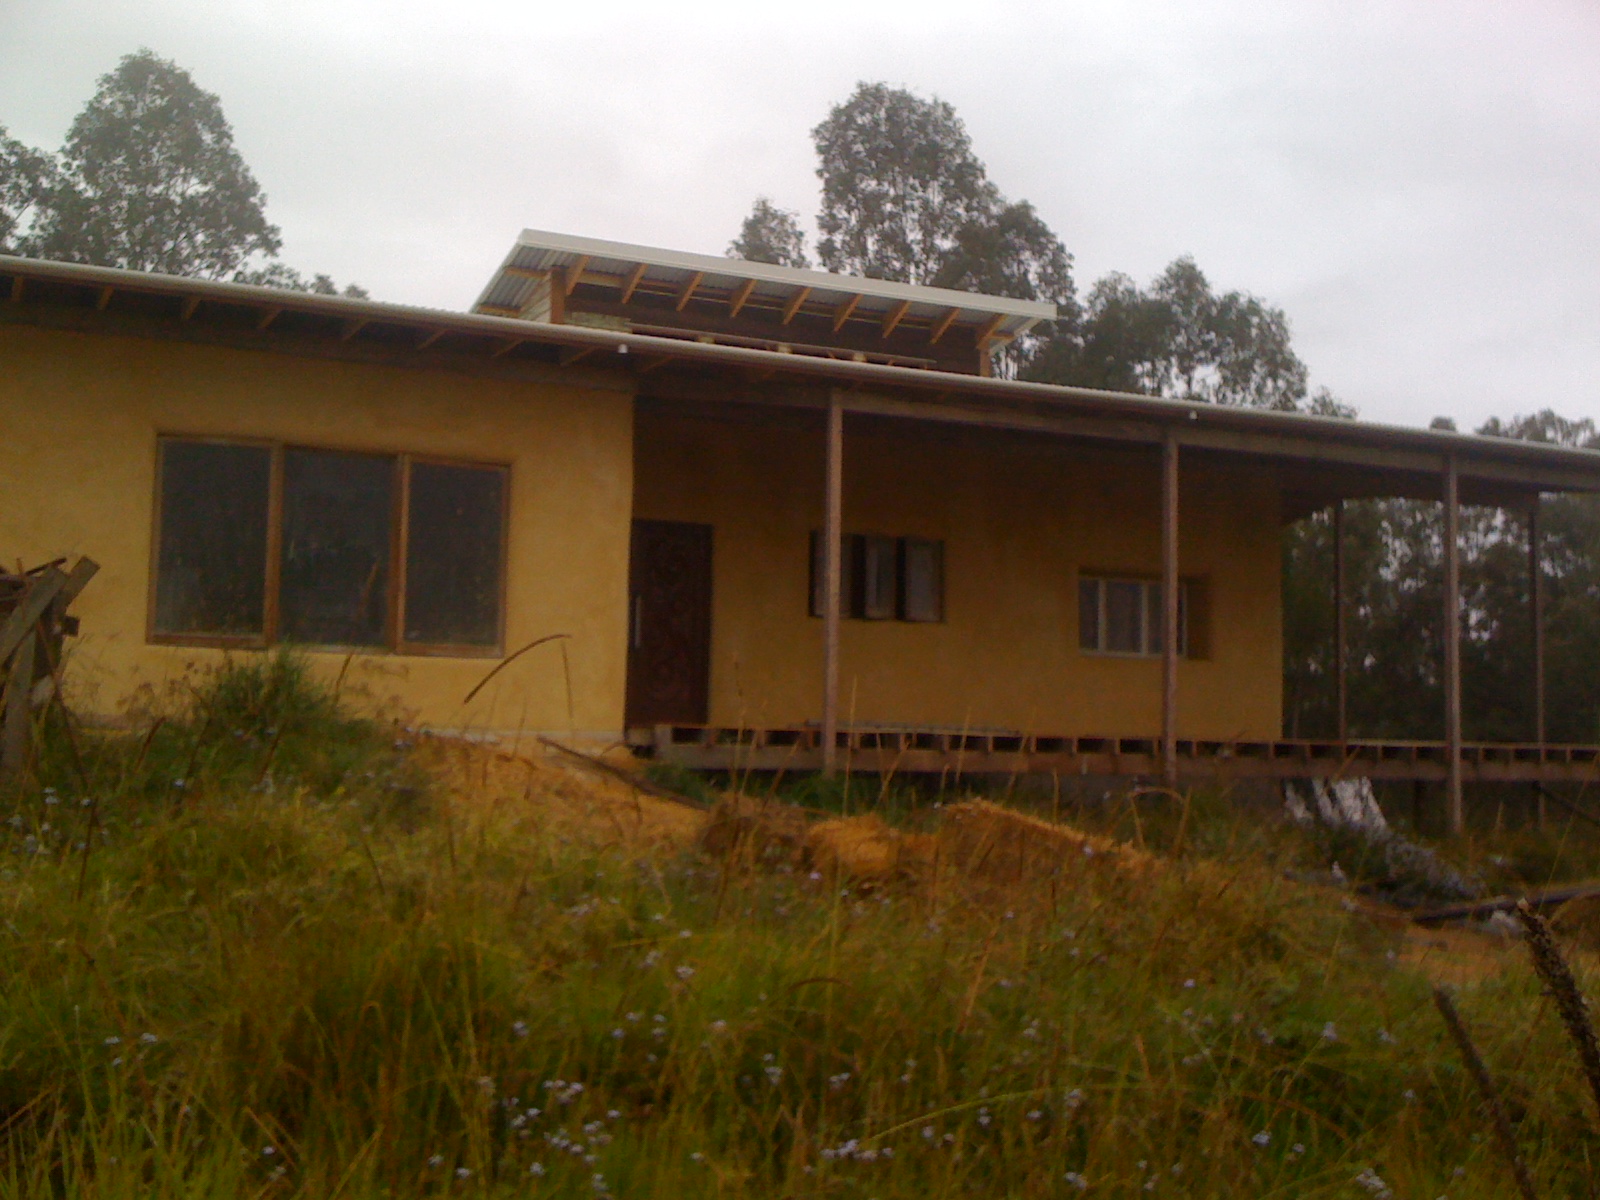
Since the workshop, Nick, Roger and Andrew (the brilliant roofer has joined the team) have been hard at work putting on the lime render on the outside.
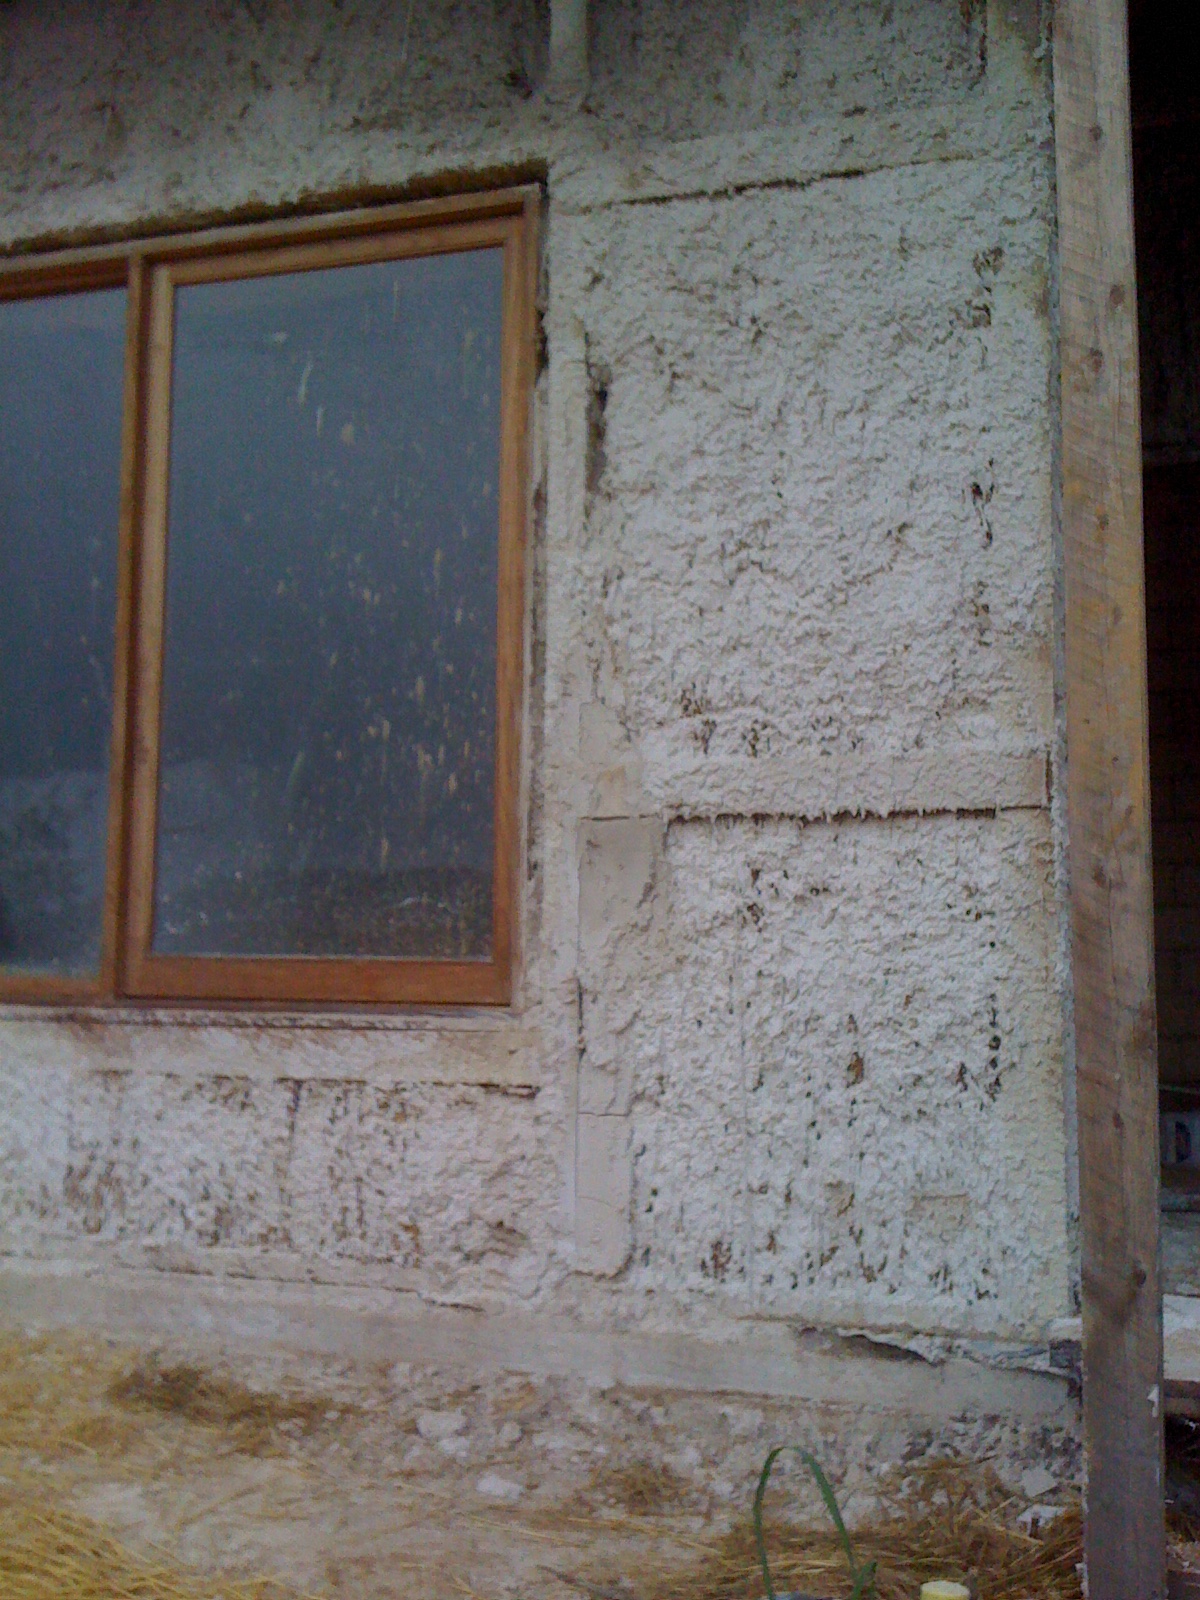
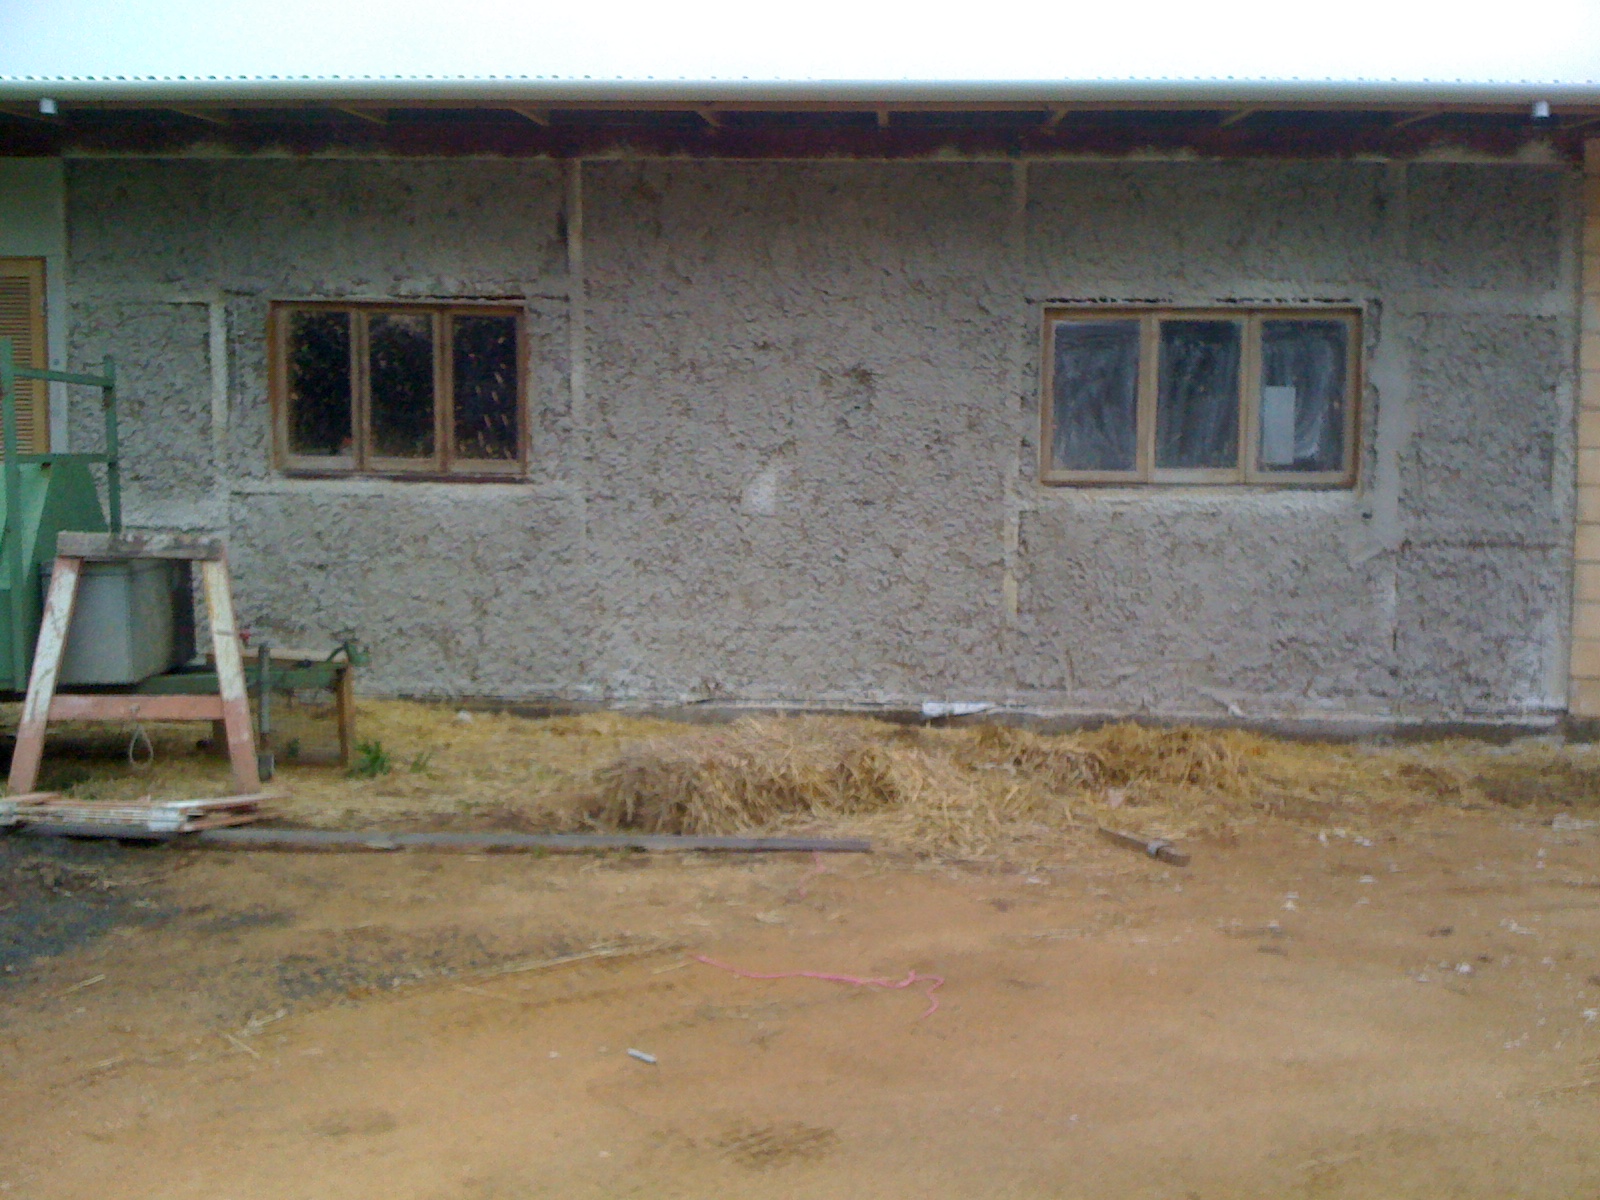
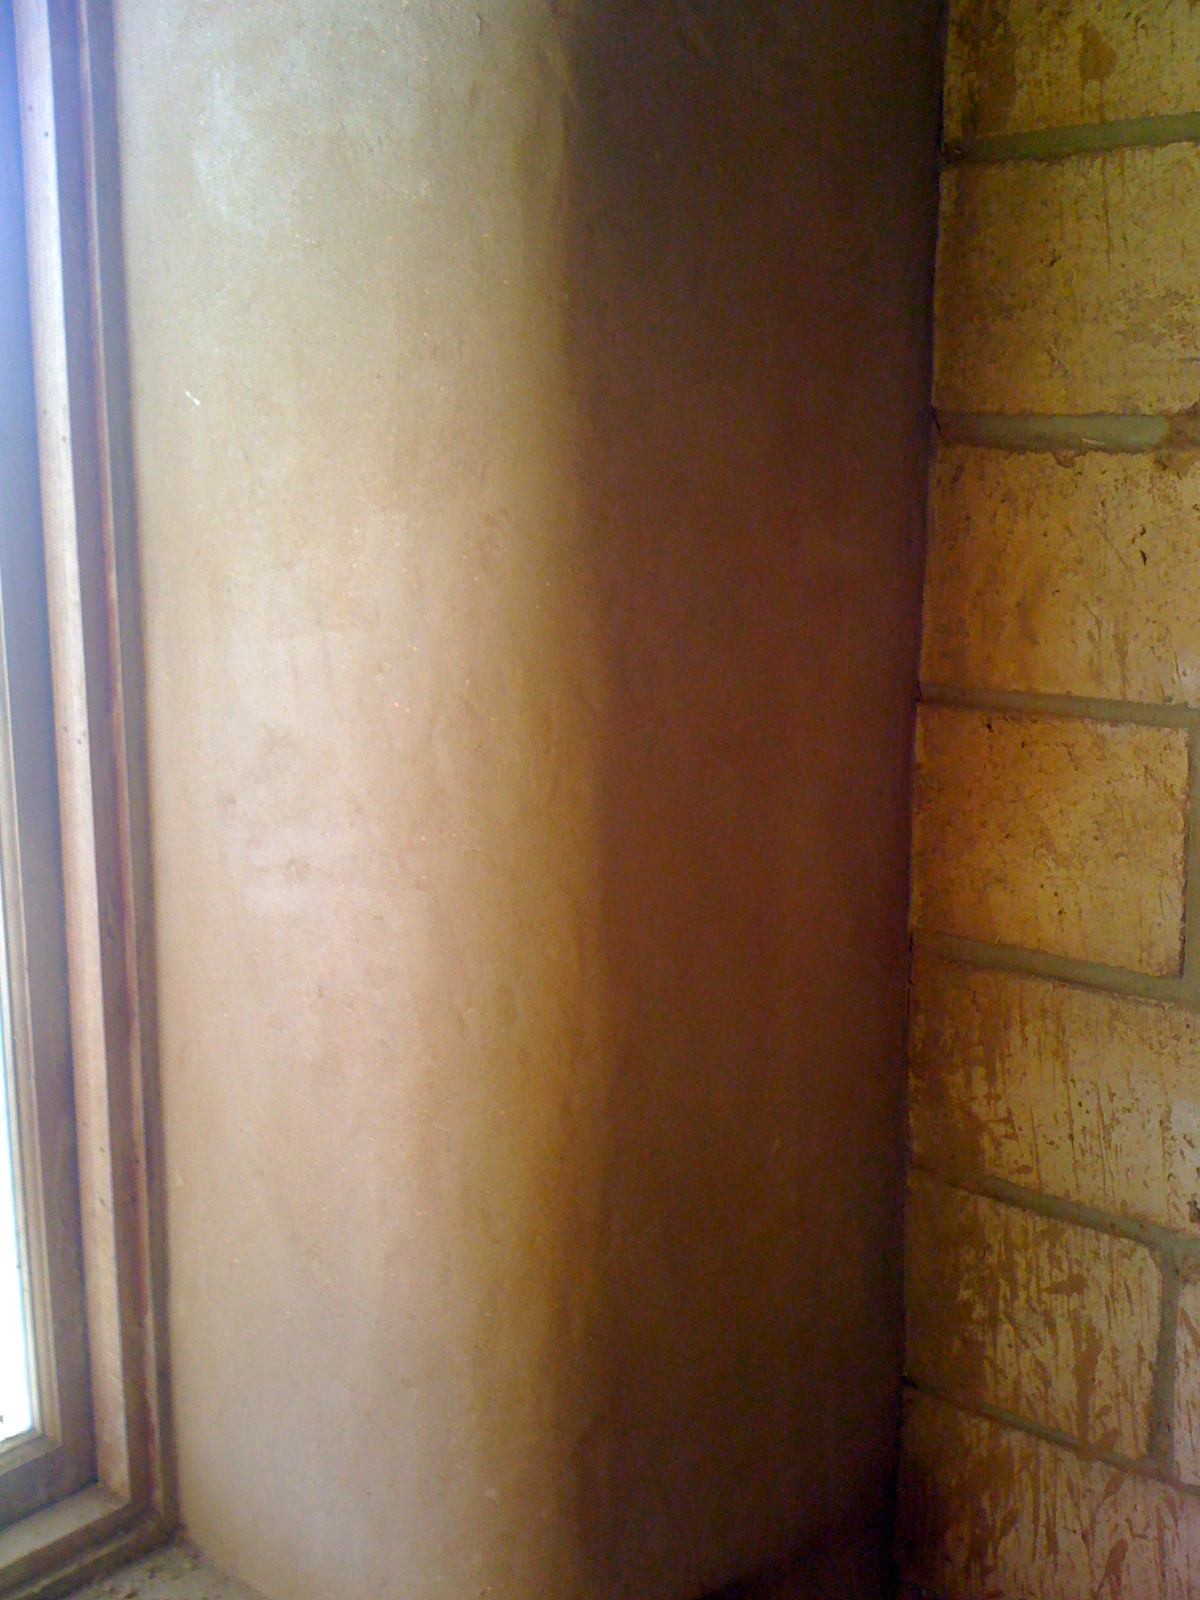
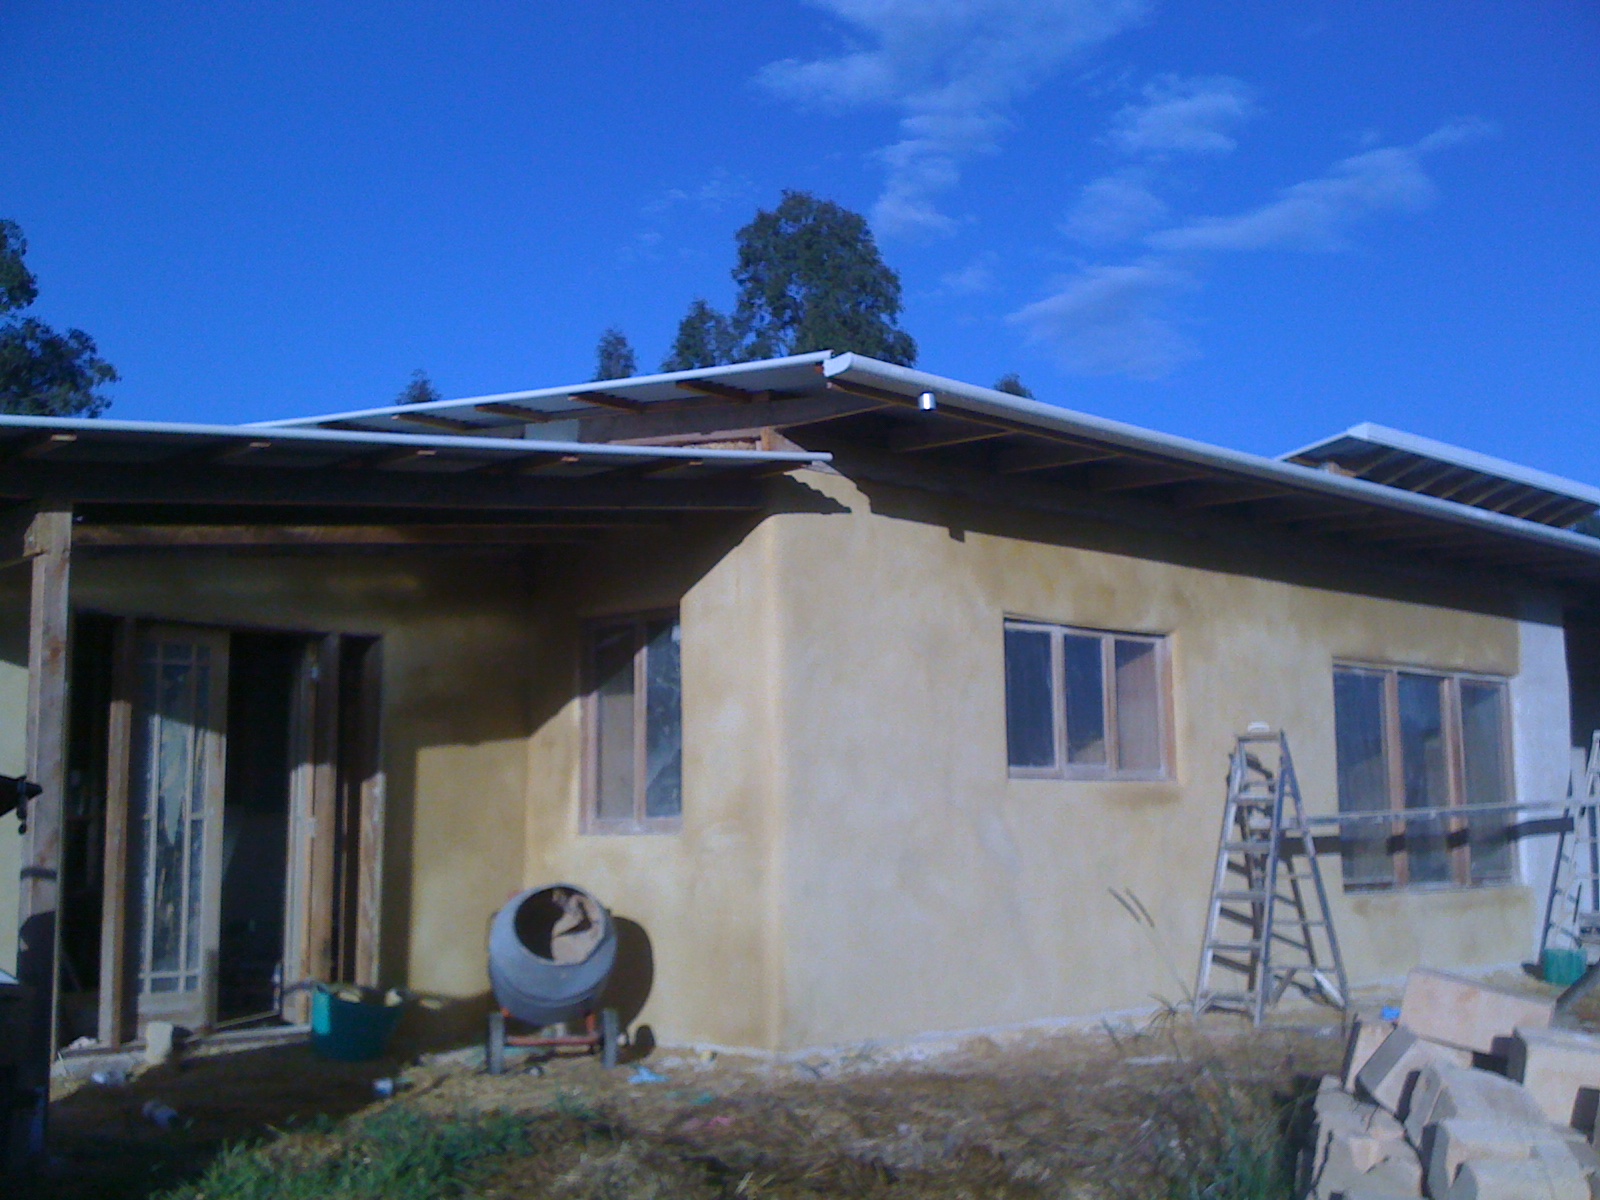
The first and second coats were pumped on using the long awaited render pump. Nick had ordered and paid for the pump back in February 2010. It arrived in June 2010. I did not envy their work with the caustic lime with all workers losing some layers of skin where the lime ate through their clothing. The final coat was done by hand. I chose an earthy soft yellow in the end after discovering the cost of shades of blue. You need to be patient and do a test patch as when it first went up it was "baby-poo" yellow but once dried, it is a golden wheat colour.
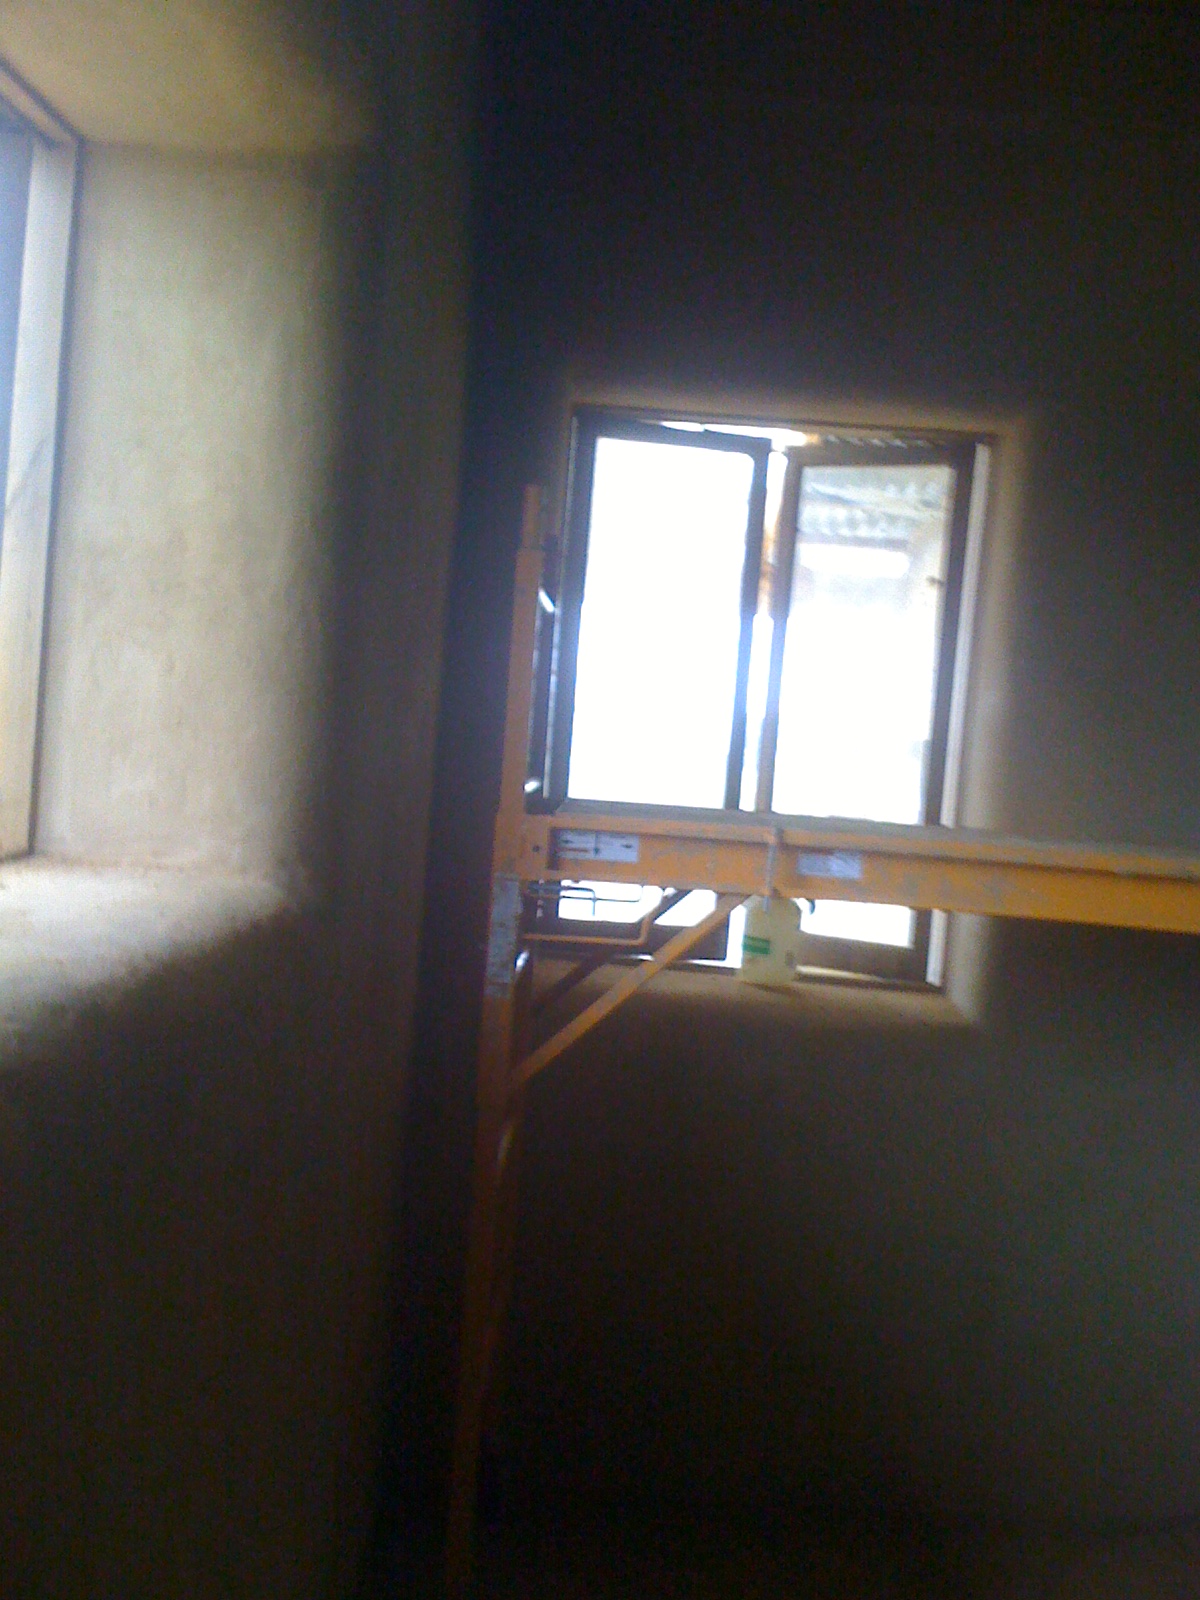
Meanwhile on the inside I commenced the final coat. The wonderful people who had come to the render workshop had made excellent progress on the first two coats, slurry and "discovery" coat. The "boys" decided another coat of clay and straw would be needed before the final coat of clay, sand and colour. This they completed before the render pump arrived. I played around with the mix for the final coat. I added very fine straw to one mix but was not happy with the look so I opted for fine saw dust that was lying around. Other things I added were borax and wheat flour paste. Andrew had finely ground up a pile of the clay but even with the addition of oxide I was having trouble lightening the heavy terracotta colour. A visit to "The Clay Shed" in Kunda Park resulted in me finding the right colour mix with the help of the very knowledgeable Cameron. By adding yellow oxide, as well as the beige oxide and diluting the terracotta clay with the white clay I have ended up with a very neutral beige. My Italian heritage had the last say and I added glitter to the render mix to make it interesting. The final coat mix is:
2 buckets of terracotta clay, 2 buckets of white kaolin clay, 10 buckets of brickies loam, 6 cups of flour paste, 2 cups of borax, 1 cup of bicarbonate, 2 cups of beige oxide, 3/4 cup of yellow oxide, 1/2 bucket of fine sawdust, glitter and water.
The mix is easy to work and sticks well even upside down. At present have completed one bedroom, lounge and dining area, 1/2 Mark's study and 3/4 of pantry. I enjoy it but it's a killer on the arms especially my right arm. Fortunately I work with some talented acupuncturists at Alba Therapies who help keep my shoulders and arms from seizing up.